Manage API Keys for Catalina’s RESTful API for Dynamics SL
You may want multiple users access Catalina’s API for Dynamics SL. When using the RESTful version of Catalina’s API, you can do this by managing the APIKEYSCONFIGFILE.xml (usually located on the web server at c:\inetpub\xctFiles\config — But could be somewhere else depending on the installation. Check with your installer)
NOTE: before doing any changes to Catalina configuration, make sure you backup the files you are updating first.
The APIKEYSCONFIGFILE.xml can be managed by a Catalina management tool called ctConfigEditor. (Normally located in C:\inetpub\xctFiles\ctConfigEditor — but could be in a different location based on installation). Once the ctConfigEditor is loaded, you will see a screen similar to this:
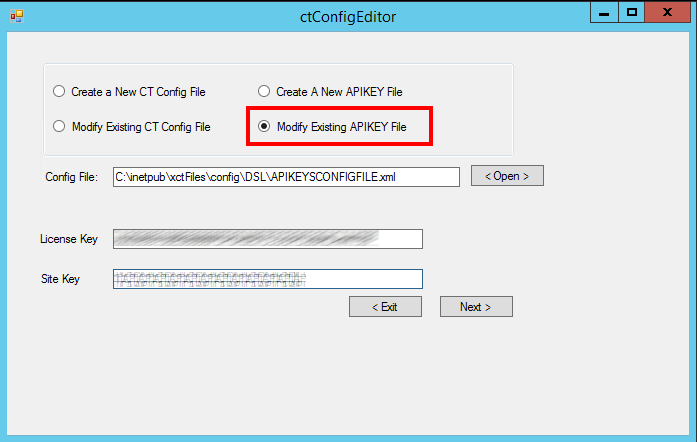
You will need to get your License Key and Site Key (found in the web.config file of the Catalina API for SL. — usually located c:\inetpub\xctFiles\web\ctDynamicsSL or c:\inetpub\wwwroot\ctDynamicsSL but could be located somewhere else based on installation). You will also need to point to the proper Config File.
Once you have loaded the APIKEYSCONFIGFILE.xml with the proper license key and site key, you will see a screen similar to this:
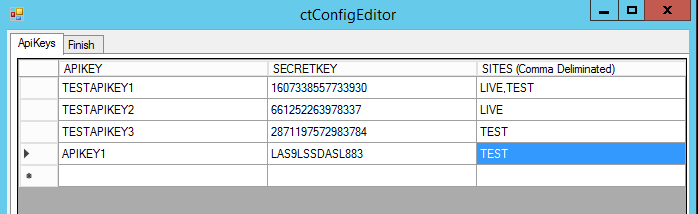
Here you can manage Authentication logins for the RESTful API. In the above example, there are 4 different keys. You can add new ones by just adding a line. and you can delete keys by clicking on the line item and hitting the delete key.
The columns of these API Keys are defined:
- APIKey: the username of the authentication
- SECRETKEY: The password of the authentication
- SITES: a comma delimited list of sites the user has access to
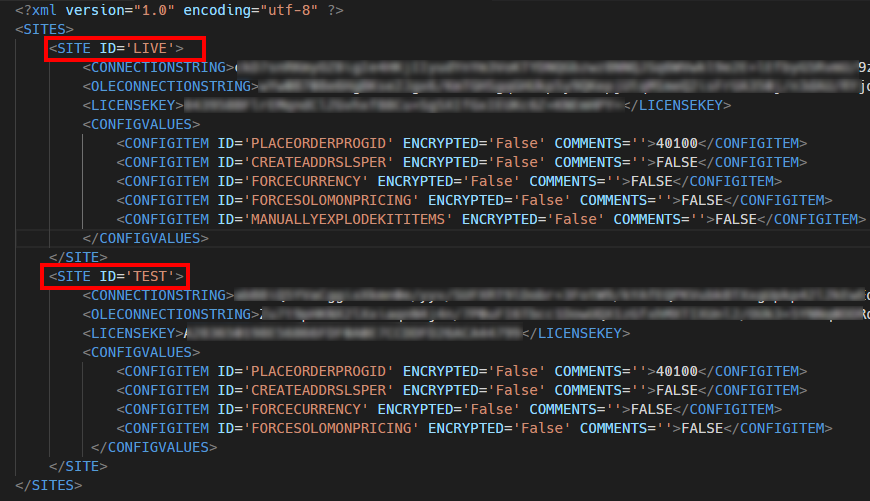
(NOTE: A site is a configuration pointer. If you look at your DSLCONFIGFILE.XML file — usually in the same location as the APIKEYSCONFIGFILE.xml — you will see different Sites and SiteID’s. It is that SITE ID that you would put in the SITES column. If you want to give a user access to more than one site, you would then list all the sites comma delimited. Below is an example of what a DSLCONFIGFILE.XML looks like. You can see that there are two sites: LIVE and TEST.
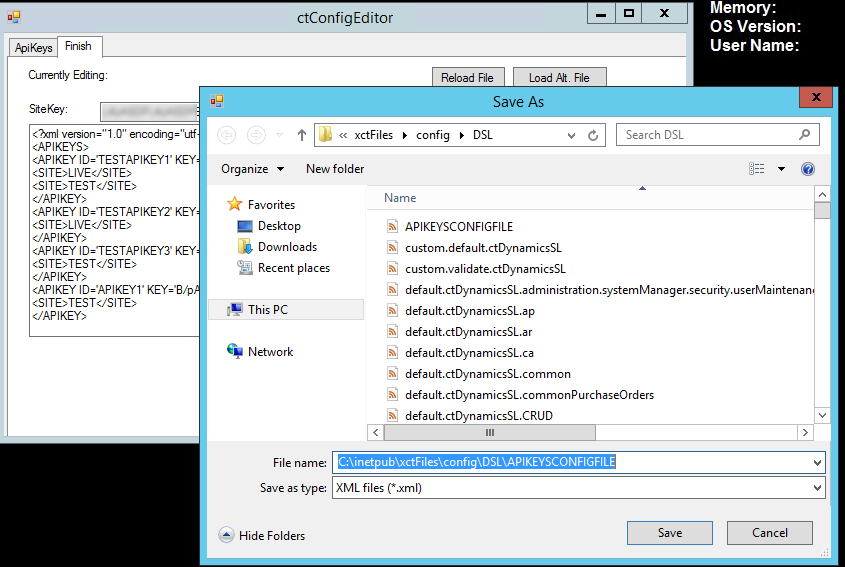
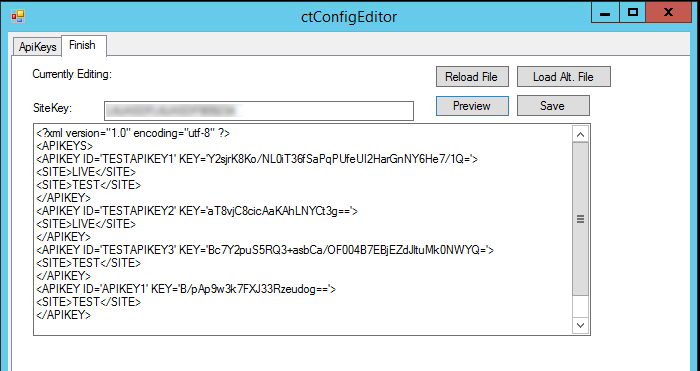
Once you have finished editing your API Keys in the ctConfigEditor tool, you can then finish it and save by clicking on the “Finish” tab. You can click the Preview button to see what your APIKeys file will look like. You can also Save your file by clicking on the Save button.
Clicking on the save button will allow you to save to a file. You will need to save it on top of the existing APIKEYSCONFIGFILE.XML (NOTE: make sure you have this file backed up before overwriting it).
After you save the file, you will also need to reload your Application Pool in IIS to make the change stick.