Scheduling MQTT Messages to io.adafruit.com from Windows Task Scheduler
Often times, I want to send an MQTT message to a device so that it can automatically do something on a timed basis. Example, say I want to turn on my greenhouse lights for my seedlings in the morning, at a certain time, and then turn them off in the evening at a certain time. If you are using Adafruit, it has a trigger that wakes up every so many minutes, hours, days, weeks. But, I want to have things to trigger at the same time every day.
I could use cron on one of my linux boxes. But, in my case, I wanted to use a windows box to do the time triggering. An easy way to do this is to use Windows Task Scheduler that comes with Windows.
1 – Get the Mosquitto Client. This will allow you to subscribe or publish to an MQTT broker from windows command line.
First, you will need to install mosquitto client. You can download this here
2 – Login (or create) an io.adafruit.com account so that you can get the AIO key
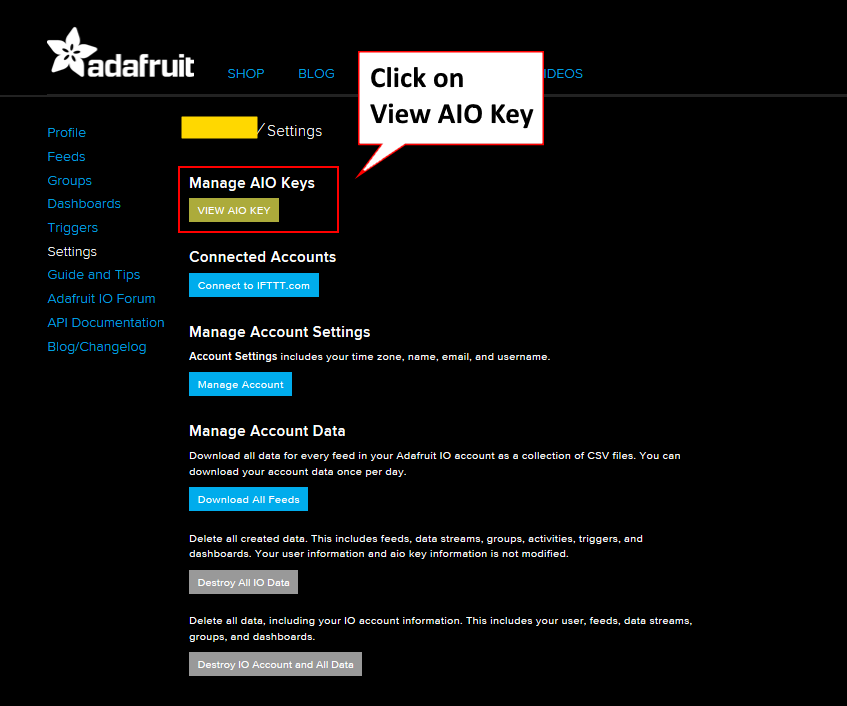
Next, you will need to login or create an account on http://io.adafruit.com. Once you have done this, you can get your AIO Key by looking in your “Settings” section of io.adafruit.com and click on “View AIO Key”
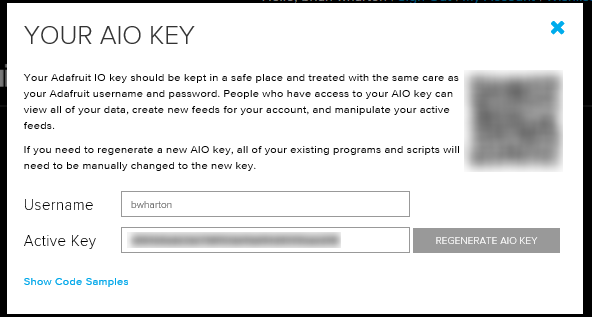
You can then copy your key to the clipboard (NOTE: I blurred out my key for obvious reasons)
Now that you have done this, you can start to publish data to your feeds from your computer.
mosquitto_pub -h io.adafruit.com -p 1883 -u <yourUserName> -P <yourKey> -t <userName>/f/<feed> -m <messagePayload>
So, if your username = bobsmith and your key = 1111111111111111111 and your feed = kitchenLamp and you want to send a message payload of “1” you would format your publish like this:
mosquitto_pub -h io.adafruit.com -p 1883 -u bobsmith -P 1111111111111111111 -t bobsmith/f/kitchLamp -m 1
3 – Make scheduled calls from Windows Task Scheduler
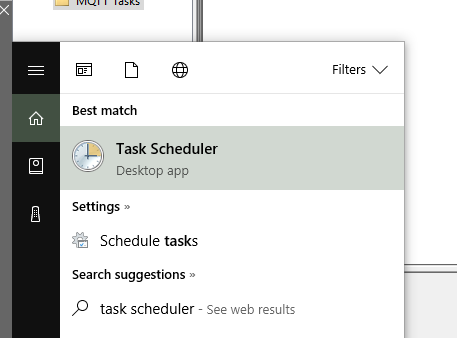
Search for task scheduler in your start menu.
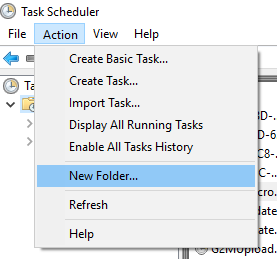
Once loaded, I like to create a folder to segment my MQTT tasks from other system tasks. You can do this by clicking on the root folder and then selecting “New Folder” from the “Action” menu.
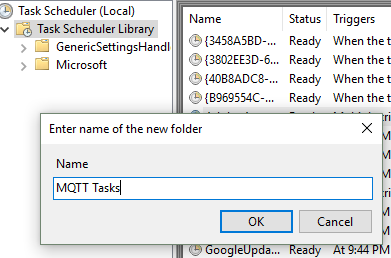
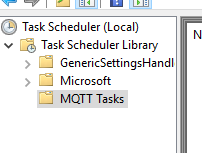
I just called it MQTT Tasks to make it descriptive
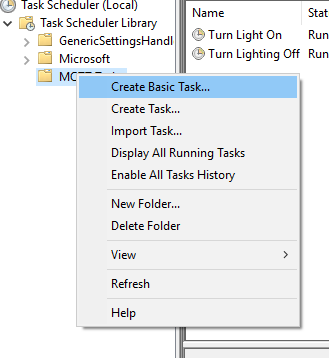
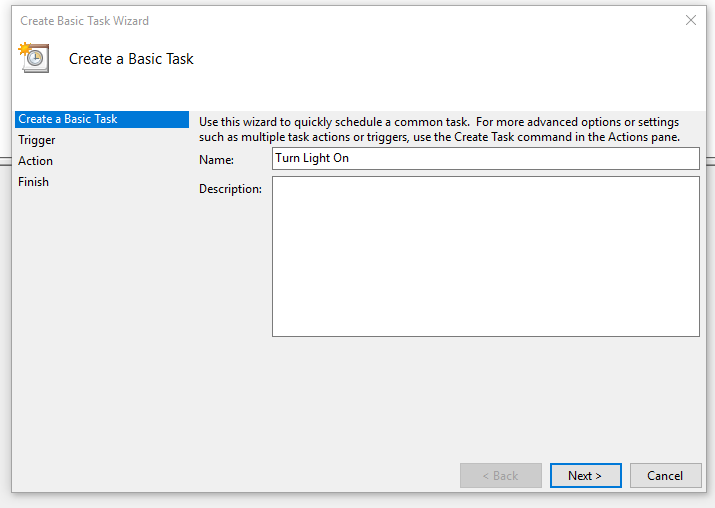
After that, you can then right click on the MQTT Tasks folder and “Create Basic Task”
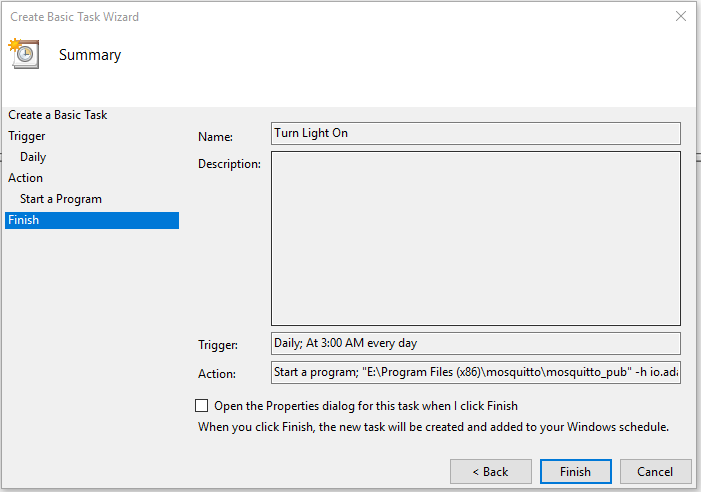
First step in creating a task is to give it a name and description. In my example, I am going to turn on a light.
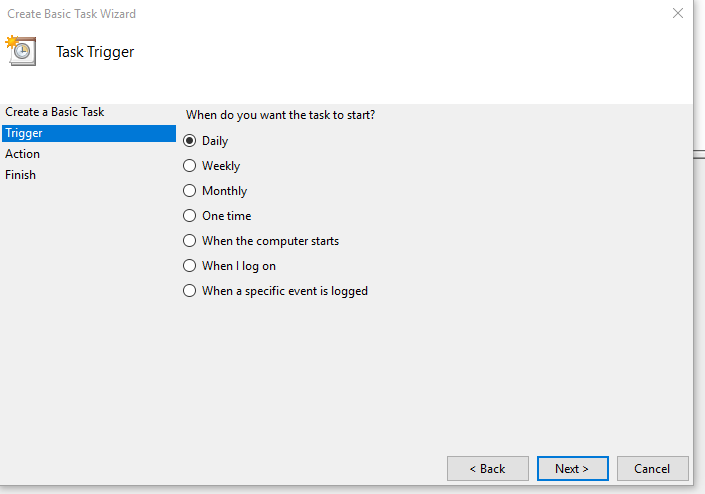
I want this to run every morning, so I am going to choose “Daily” as the task trigger.
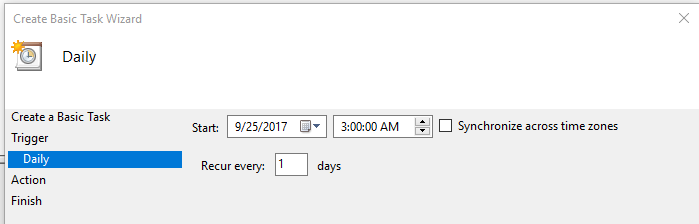
I then state that I want it to happen every “1” days. And I want to turn the light on at 3AM my time.
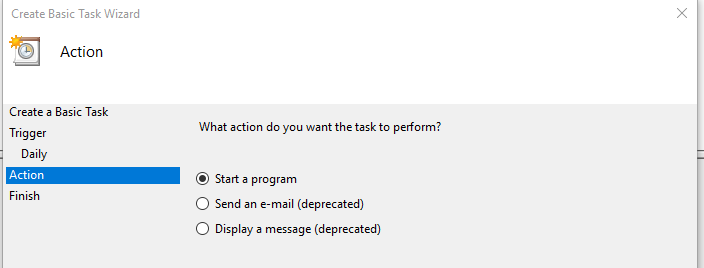
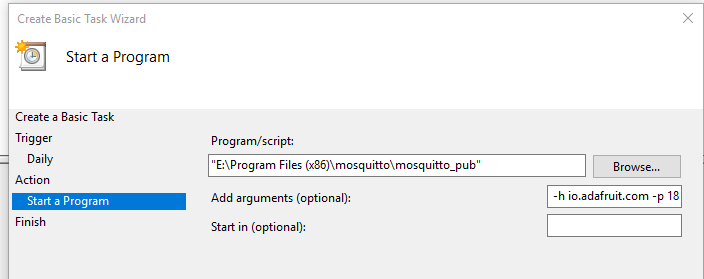
And I am going to “Start a program” so that I can run the mosquitto_pub.exe program.
Put in the full path of mosquitto_pub. In my case, I had it in e:\program Files(x86)\mosquitto. NOTE: I had to put the program in double quotes since there are spaces in the name.
You then put the additional arguments in the “Add arguments (optional)” section. In my above example that has this as the full command:
mosquitto_pub -h io.adafruit.com -p 1883 -u bobsmith -P 1111111111111111111 -t bobsmith/f/kitchLamp -m 1
Put the parameters after the mosquitto_pub in the “Add arguments” text box:
-h io.adafruit.com -p 1883 -u bobsmith -P 1111111111111111111 -t bobsmith/f/kitchLamp -m 1
Now we are at the finish section. Review that you have it right and you are golden!
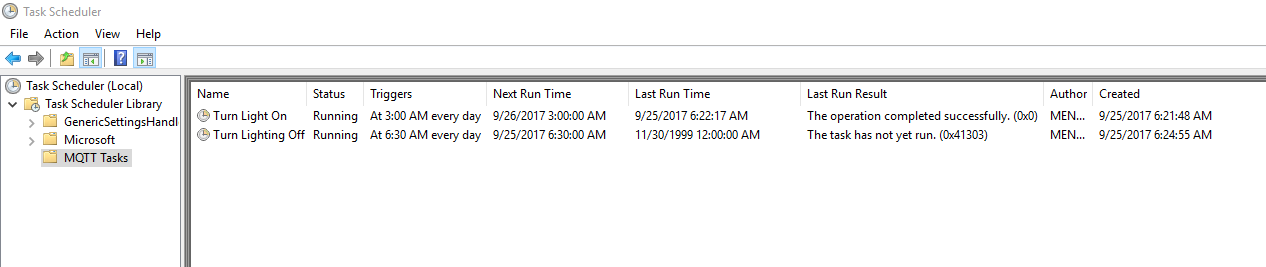
You can then test your work by right clicking on your task and hitting “Run”
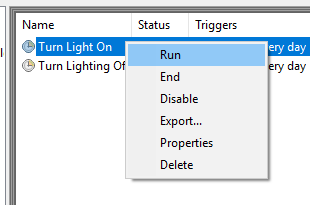
I went ahead and also added another to turn lights off at the end of the day.
