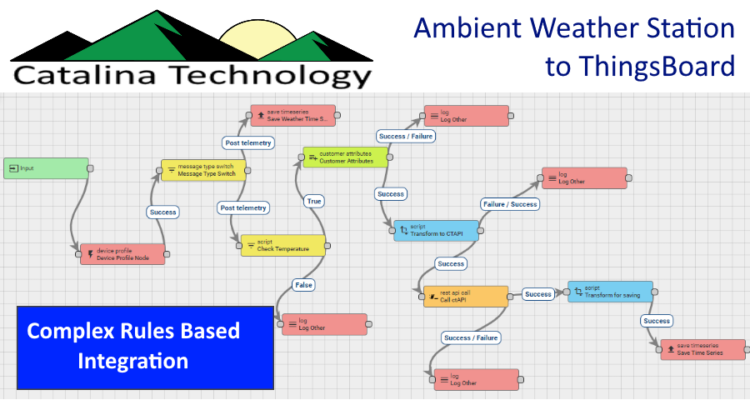
Connect an Ambient Weather Station to ThingsBoard
At Catalina Technology, we are “Weather Bugs.” Living on Hatteras Island, we get our fair share of weather so we like to keep track of it through various IOT devices and weather stations. Since we collect a lot of data, using a tool like ThingsBoard to retrieve the data and build rules against the data coming in (alarms to tell us to close the windows when it is raining) and dashboards.
This is a demo on how you can connect an Ambient weather station to thingsboard.
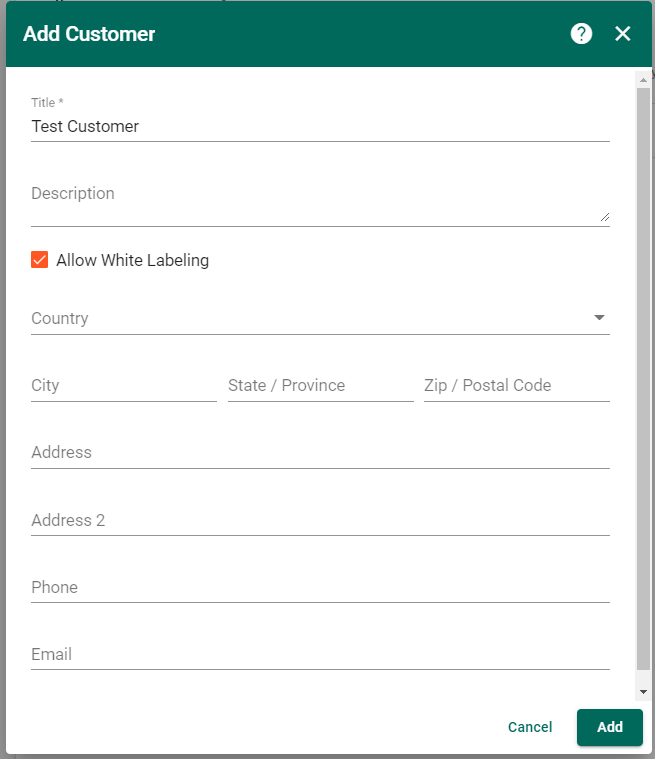
First, you need to make sure you have a customer created. You can go to the customers hierarchy and either make sure you have an existing one or create a new one.
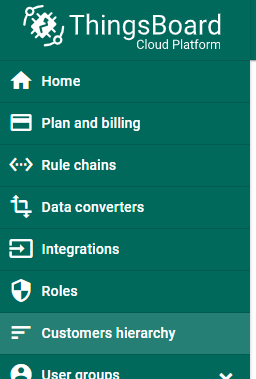
Since I have a fresh ThingsBoard site, I am just going to create a new customer called “Test Customer” and save it.
After you have a customer, click on that customer (in the customer hierarchy) and click on the Attributes Tab. What we are going to want to do is store our secret API and Application keys given to us from Ambient.
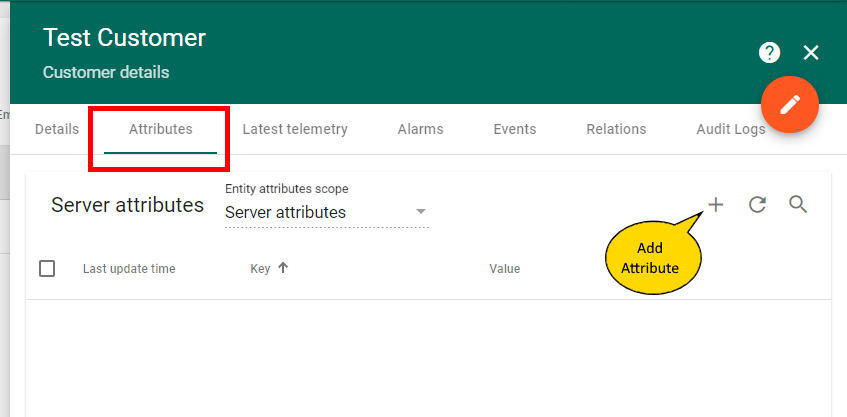
I am going to create an attribute called AMBIENTAppKey. This will be used later on when we make the API call to Ambient’s RESTful API.
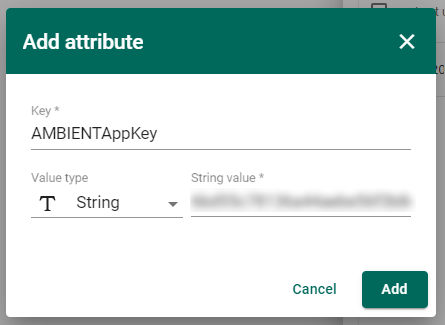
I also did the same for the API key and created an attribute named AMBIENTAPIKey (NOTE: I have blurred out my keys so that someone doesnt gain access to my weather station)

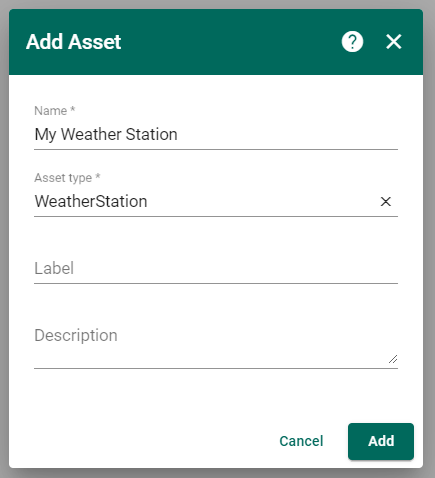
Next, expand your customer and then go into the asset groups and click on All. We are going to add an asset for the weather station.

For lack of a better name, I just named my weather station asset “My Weather Station” and gave it an asset type of WeatherStation.
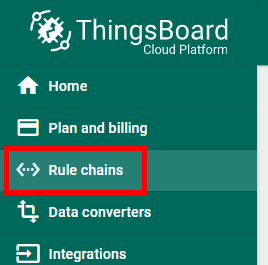
Now we are going to write the actual rules. Go to “Rule Chains”
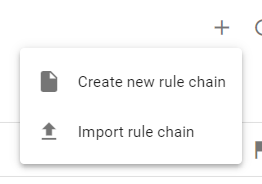
We are going to create a new rule chain.
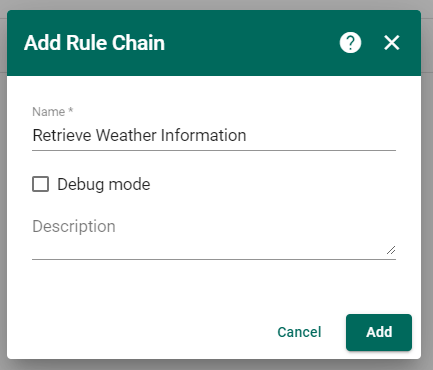
Since this rule chain is going to be retrieving data from Ambient’s RESTful API and then tying it to the asset we created, I am just going to name this “Retrieve Weather Information”
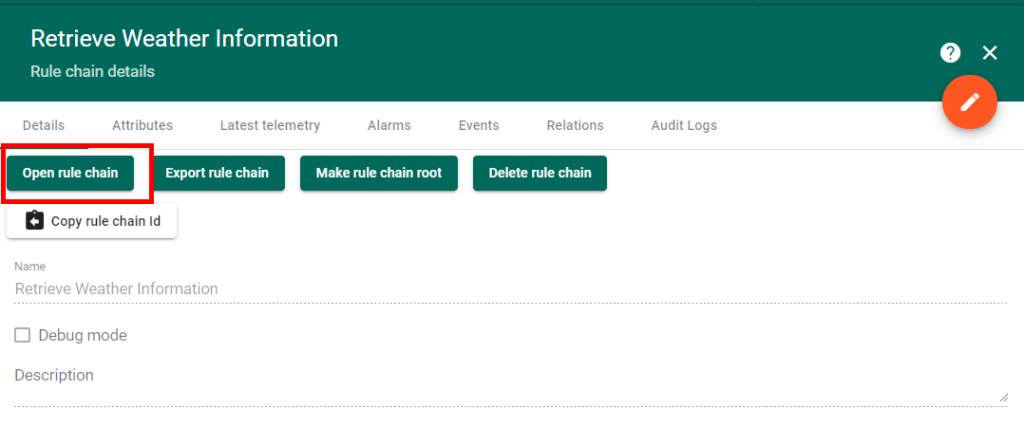
Once the rule is created, click on it and then click on the “Open rule chain” button.
Now we are going to use the “Generator” rule node. Just simply drag it out to the work surface.
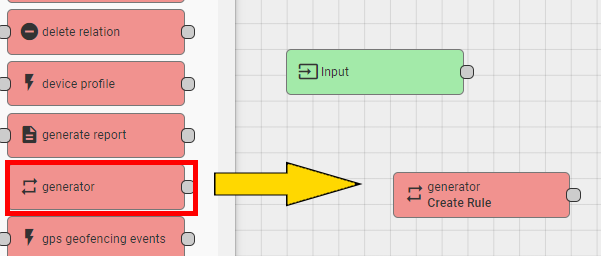
What a generator rule node does is allow us to create a timer event against a particular asset or other entity in the system. In our case, we are going to just point to the Asset “My Weather Station”. And we are going to change the guts of the code to just use an empty msg.
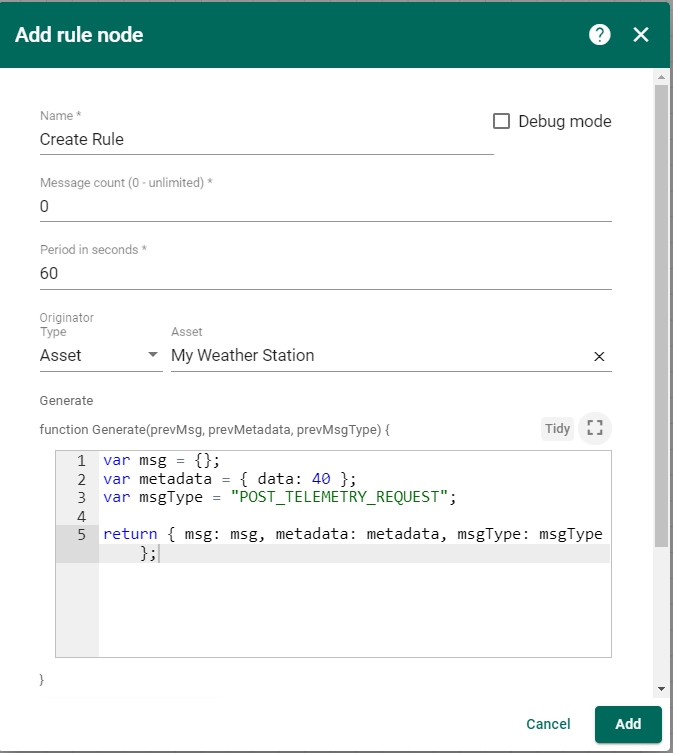
Here is the code so that you can cut and paste
var msg = {};
var metadata = { data: 40 };
var msgType = "POST_TELEMETRY_REQUEST";

return { msg: msg, metadata: metadata, msgType: msgType };
Next, we want to get access to the customer attributes (AMBIENTAPIKey and AMBIENTAppKey) so that we can use them. Just drag the customer attributes out
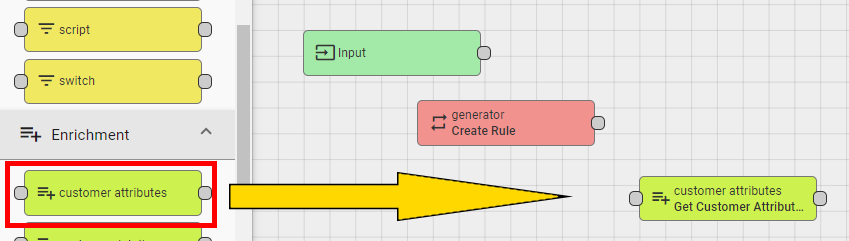
A popup will be shown. Enter the below. What we are doing is taking the source attribute (tied to the customer) and then making it a variable that we can use. You could change the name of the attribute if you want. But it is just easier to keep it the same. So, make the Target attribute names the same as the Source attribute names.

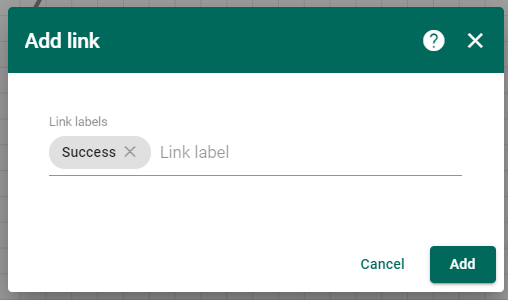
Once you save the above, you will then want to link the generator node to the customer attributes. Just grab the little circle on the right of the generateor node and drag it to the left of the customer attributes node.
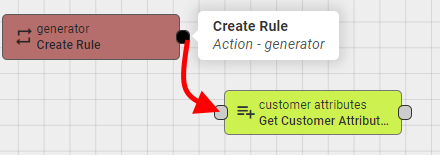
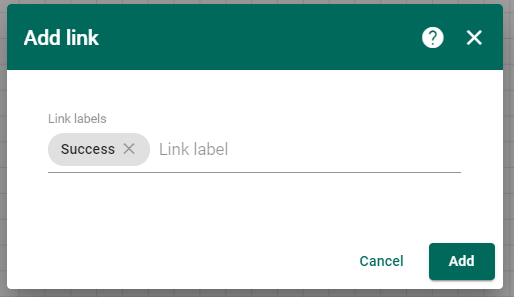
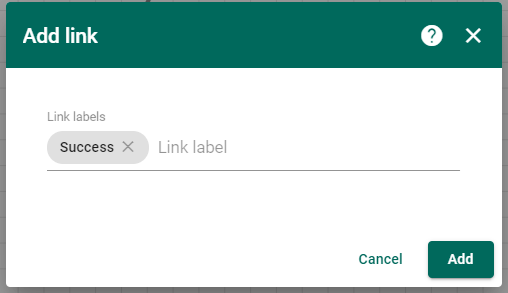
It will ask you what the link should be. We want to go to the next step if there is a success.
Next, drag out the rest api call node to the work surface so that we can then call Ambient’s API.
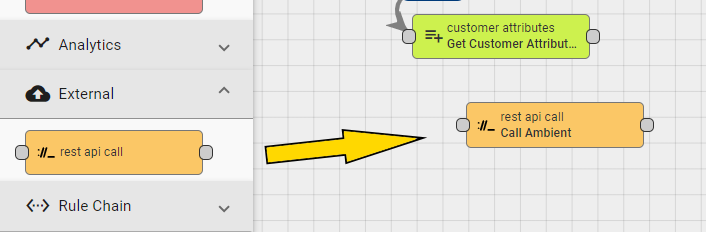
A popup will be shown. I just named this “Rest API Call” and then entered the endpoint for the Ambient API. NOTE: you will see how I replaced the actual key with a customer attribute. Also NOTE that this is a “GET” Request method.
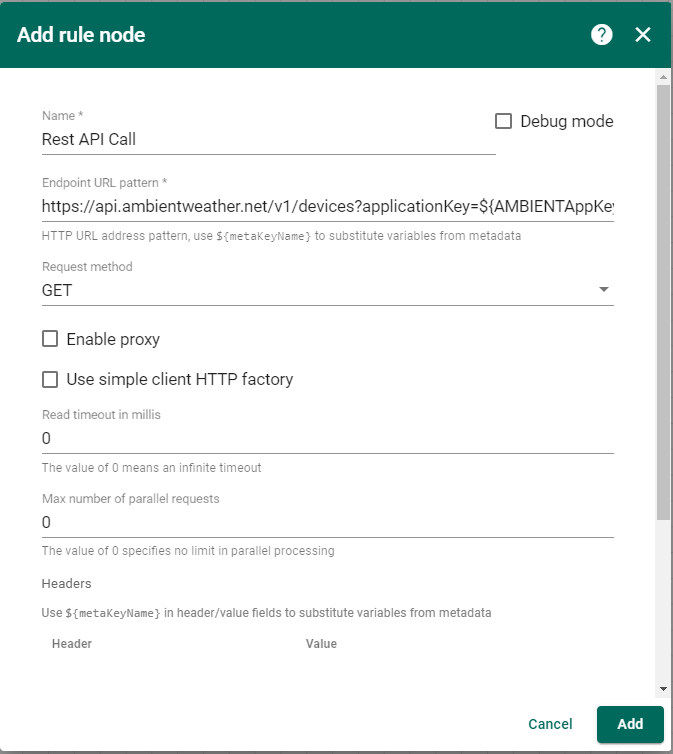
Below is what the URL looks like with the attribute key variables embedded. What the Rest API Call node will do when it executes is replace those variables with the values stored under the customer’s attributes with the same name.
https://api.ambientweather.net/v1/devices?applicationKey=${AMBIENTAppKey}&apiKey=${AMBIENTAPIKey}
Now link the get customer attributes node to the Rest API Call node
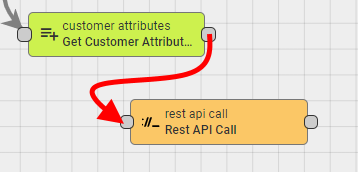
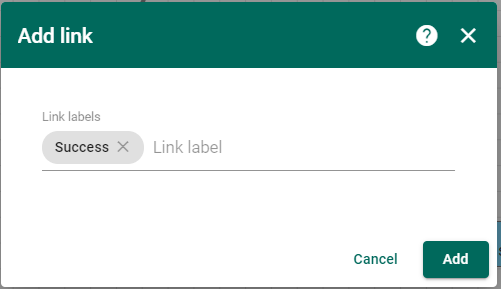
And link it for a success.
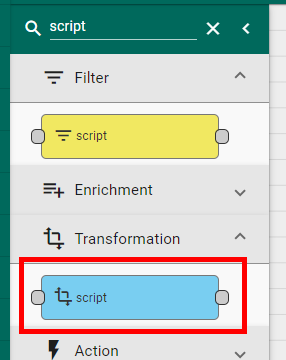
Now we are going to write some transformation script. Search for the script node. Make sure you choose the blue one for transformation.
What we are now going to do is transform the data that comes back from Ambient and form it into an object that makes sense to save as a time series.

Below is the script so that you can cut and paste.
var returnMsg = {
"dateutc": msg[0].lastData.dateutc,
"winddir": msg[0].lastData.winddir,
"windspeedmph": msg[0].lastData.windspeedmph,
"windgustmph": msg[0].lastData.windgustmph,
"maxdailygust": msg[0].lastData.maxdailygust,
"tempf": msg[0].lastData.tempf,
"hourlyrainin": msg[0].lastData.hourlyrainin,
"eventrainin": msg[0].lastData.eventrainin,
"dailyrainin": msg[0].lastData.dailyrainin,
"weeklyrainin": msg[0].lastData.weeklyrainin,
"monthlyrainin": msg[0].lastData.monthlyrainin,
"totalrainin": msg[0].lastData.totalrainin,
"baromrelin": msg[0].lastData.baromrelin,
"baromabsin": msg[0].lastData.baromabsin,
"humidity": msg[0].lastData.humidity,
"tempinf": msg[0].lastData.tempinf,
"humidityin": msg[0].lastData.humidityin,
"uv": msg[0].lastData.uv,
"solarradiation": msg[0].lastData.solarradiation,
"feelsLike": msg[0].lastData.feelsLike,
"dewPoint": msg[0].lastData.dewPoint,
"feelsLikein": msg[0].lastData.feelsLikein,
"dewPointin": msg[0].lastData.dewPointin,
"lastRain": msg[0].lastData.lastRain,
"tz": msg[0].lastData.tz,
"date": msg[0].lastData.date
};
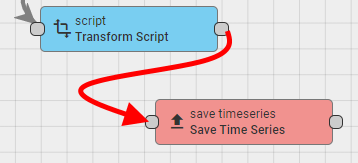
return {msg: returnMsg, metadata: metadata, msgType: msgType};And link the Rest API Call node to the transformation script.
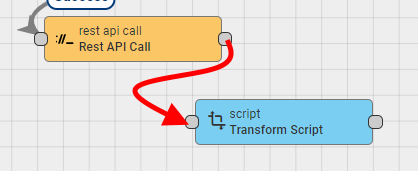
Making sure that we do this on success. What this will then do is take the output of the API call and pass it to the script for transformation.
Now, we just want to simply save the transformed data. It will be saved against the asset we are working on.

And link the transformation script to the time series node for success.
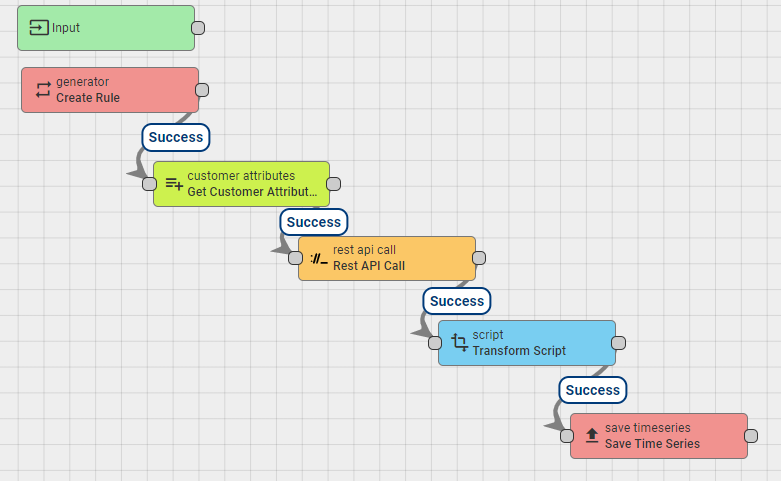
This is what the whole rule chain looks like.
Now we want to show this on a dashboard.
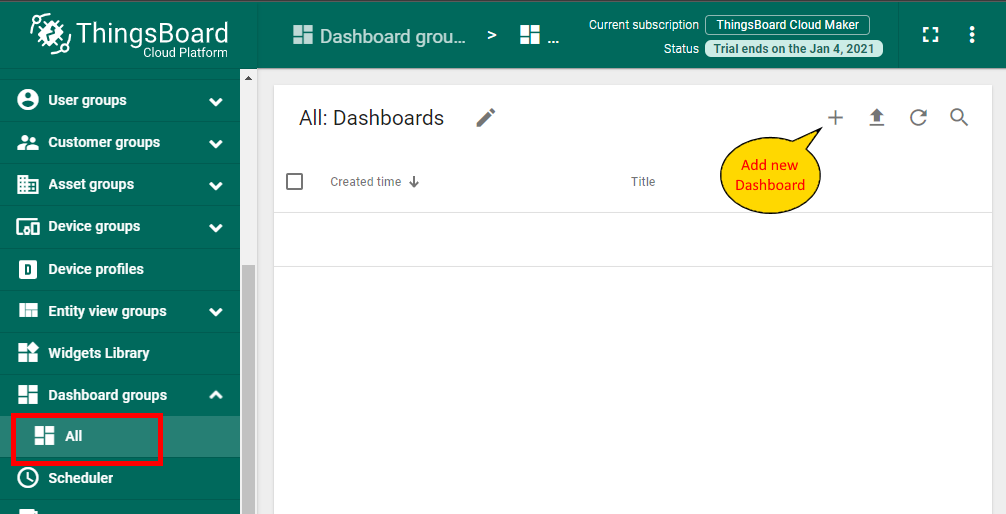
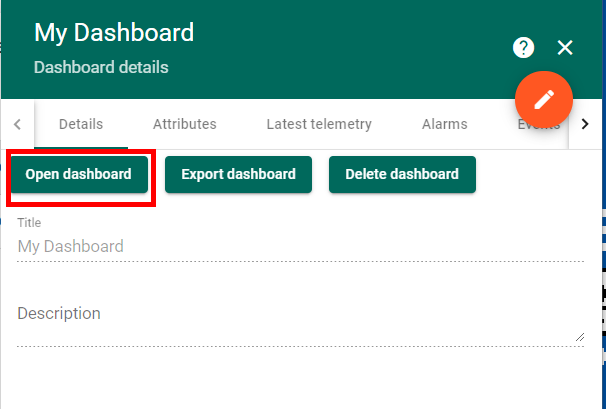
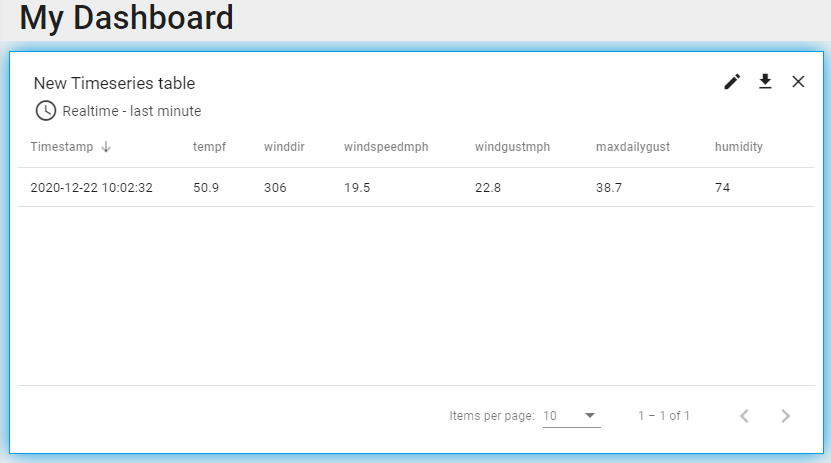
Create a new Dashboard. I am just naming it “My Dashboard”

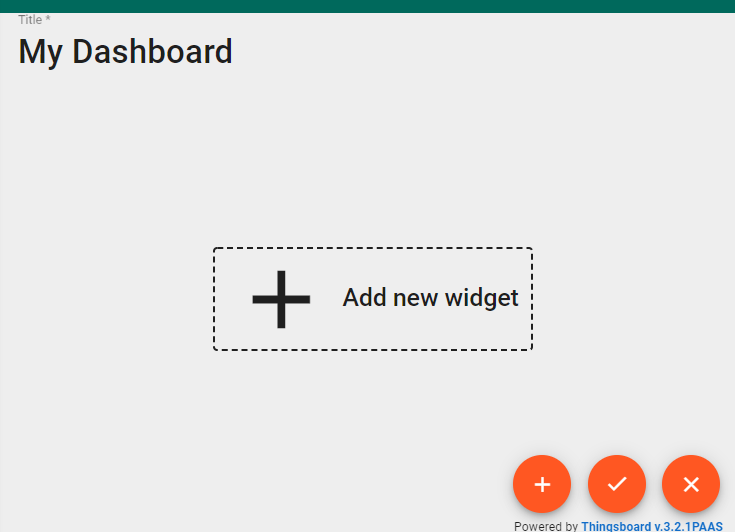
Once the dashboard is created, open it.
Lets add a widget.
Choose the Cards widget bundle.
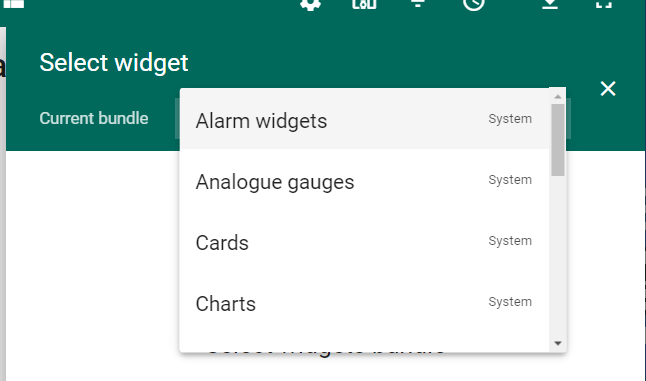
I am going to use the timeseries table.
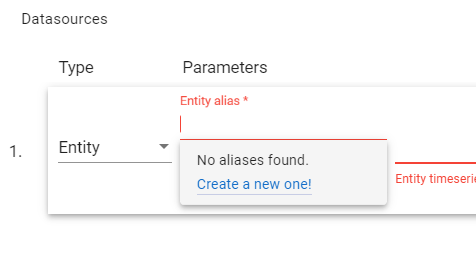
You need to link the widget to data. So, what we are going to do is create a new alias to data since we dont have one already.
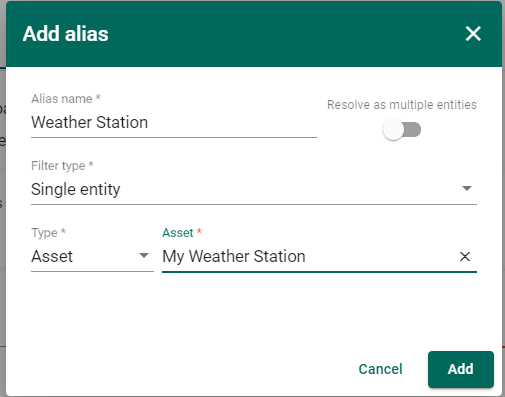
We are going to give it an alias name. This is just a name we can now use in this dashboard to refer to data. I am going to use a “single entity” type of filter. And I am going to point it to my Weather Station asset.
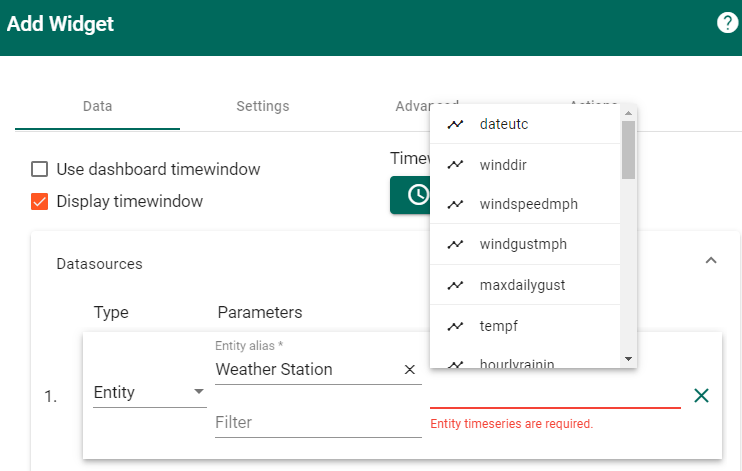
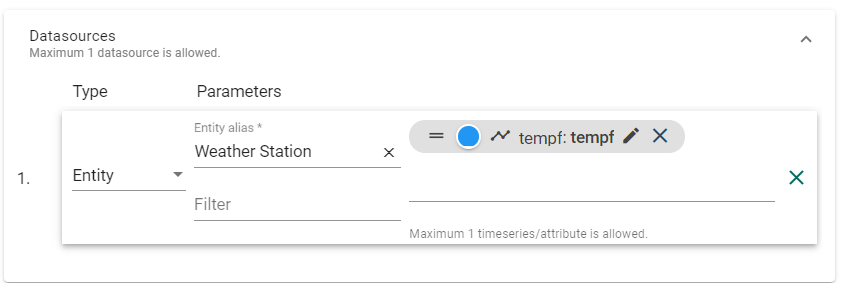
After you have pressed add to save the alias, you can then use that alias in your datasource. I am going to point to the Entity alias for “Weather Station” and then choose which data variables I want to show on my table.
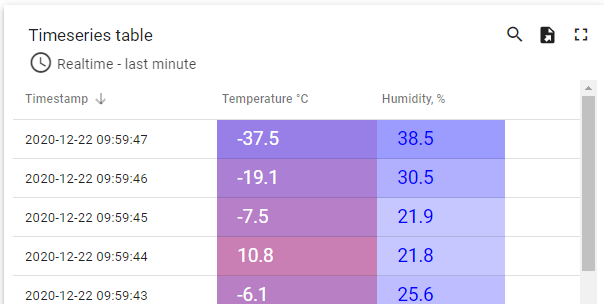
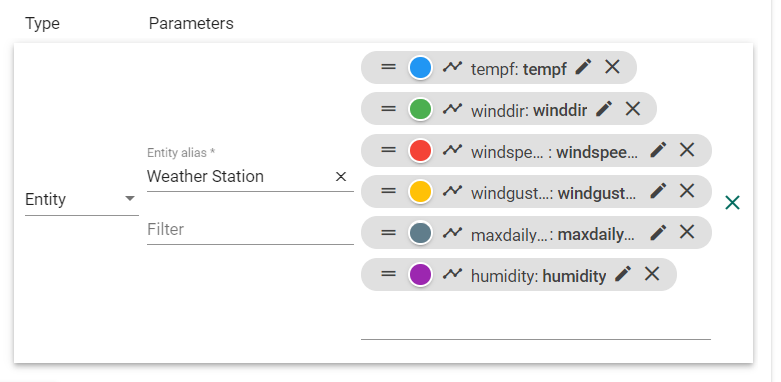
I choose several variables for temperature, wind direction and speed, etc. You can drag the variables around to change the order in the table. You can also click on the pencil to edit things like header, color, etc.
After I save that, I can then see the data showing up in my timeseries table on my dashboard.
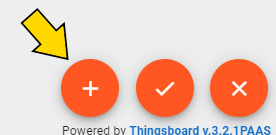
I want to do another one a bit more graphical. So, hit the plus button to add another widget.
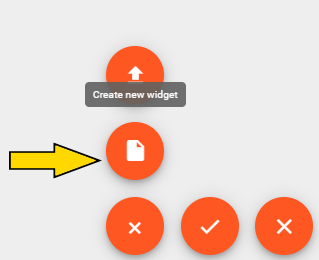
Lets create the new widget.
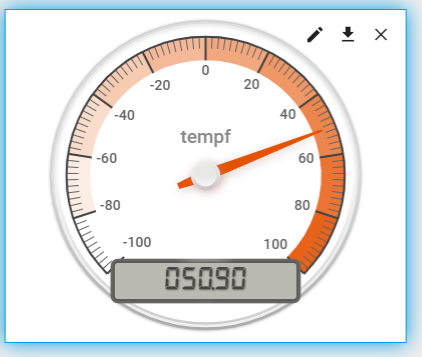
What I did then was choose Analog gauge and choose the temperature gauge and then pointed the tempf field (temperature F) to be displayed.
And now I have a nice gauge. You can add as many things as you want. As well as bring in other data from other devices and assets. We also use water temperature from an ESP32 device out off of our dock to create a fully comprehensive view of weather and conditions without just getting data from one weather station.